What to Know Before Editing an Image
The SendSites platform allows you to edit images within the Library using the Toast UI Image Editor. This editor is a Third Party photo-editing platform integrated with your SendSites platform.
Toast UI is a service run by a company other than SendSites. This means they may develop new features that could be available for use in the SendSites platform, but it also means the Toast UI team may remove features at any time as well.
Editing an Image
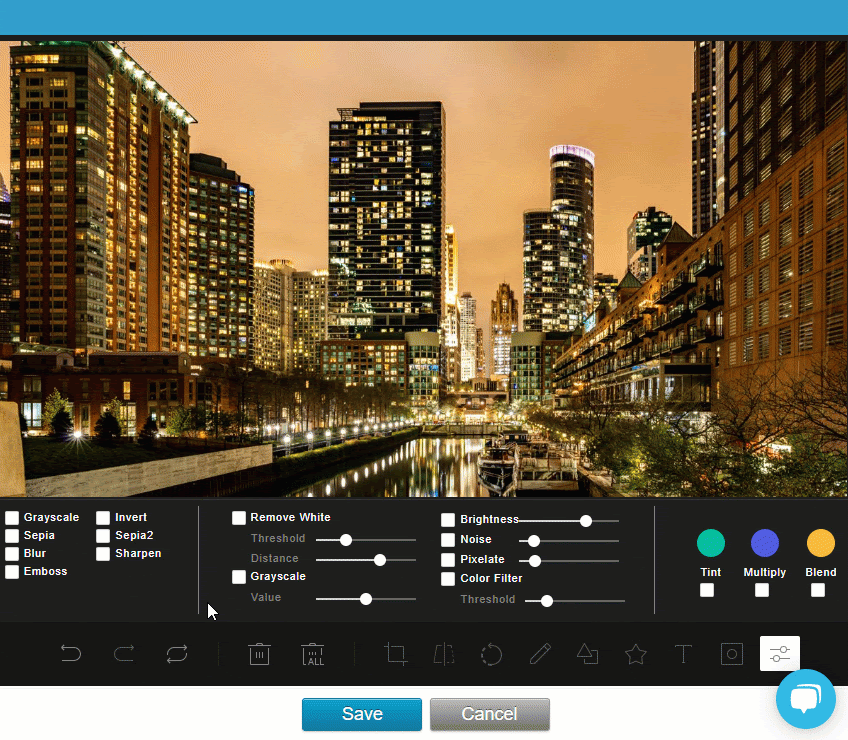
To modify the appearance of an Image, select the ‘Edit’ ![]() option, which appears upon hovering your cursor over the desired image. The next screen shows the Editor along with your image.
option, which appears upon hovering your cursor over the desired image. The next screen shows the Editor along with your image.
From here, many options are available to stylize your Image. Each is outlined below.
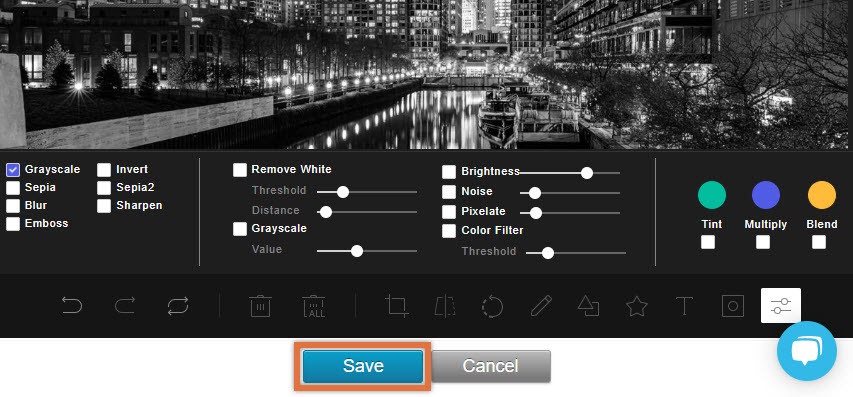
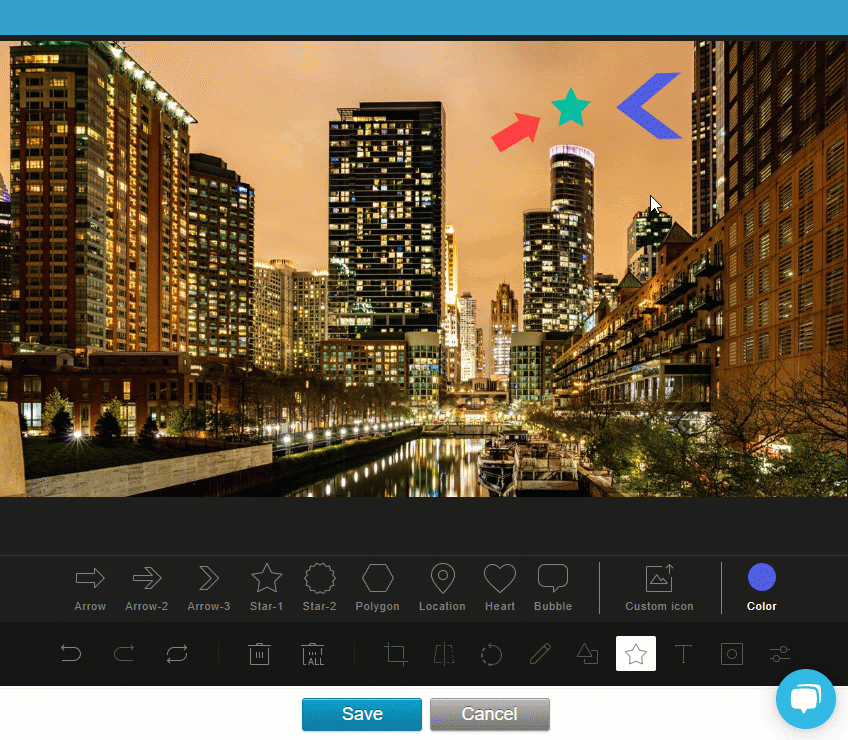
When you are finished editing your image, be sure to click the ‘Save’ button at the bottom of your image. All saved changes are immediate and permanent.
Crop
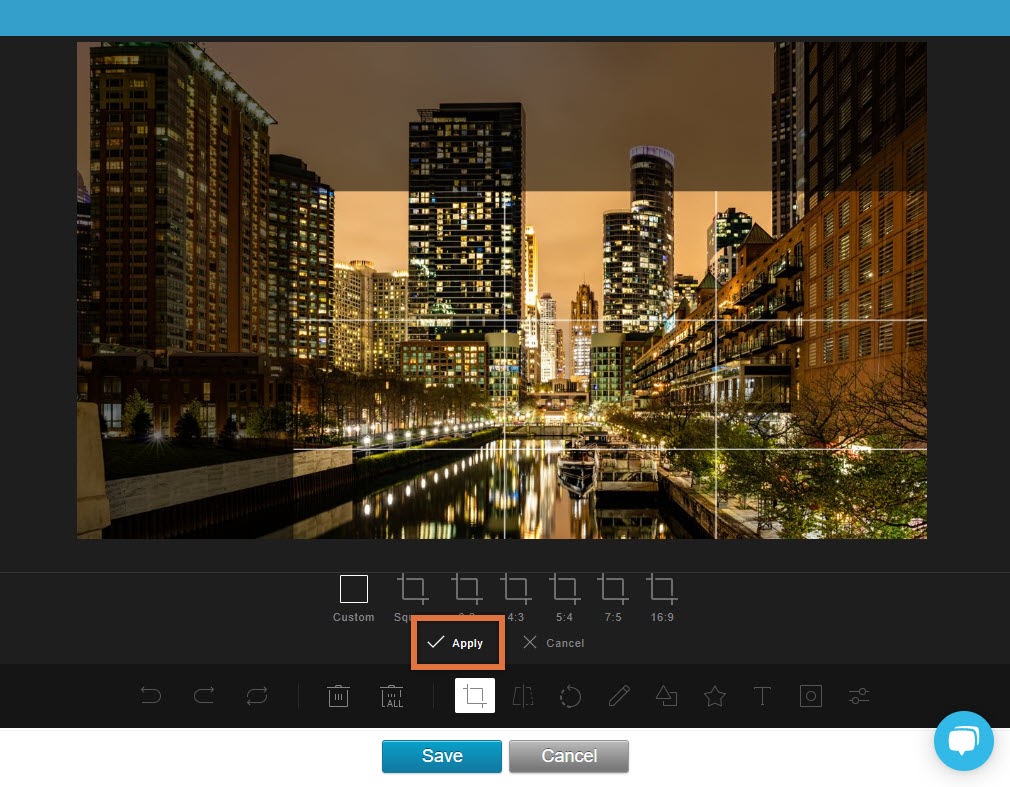
Removes a portion of the image. Select a custom crop by clicking and dragging across your image or choose from commonly used aspect ratios.
Cropping images to exact dimensions is useful for SendSites image galleries. By default, SendSites image galleries do not display images in the same height and width.
Note
When using the cropping tool, click the “Apply” button, before saving changes.
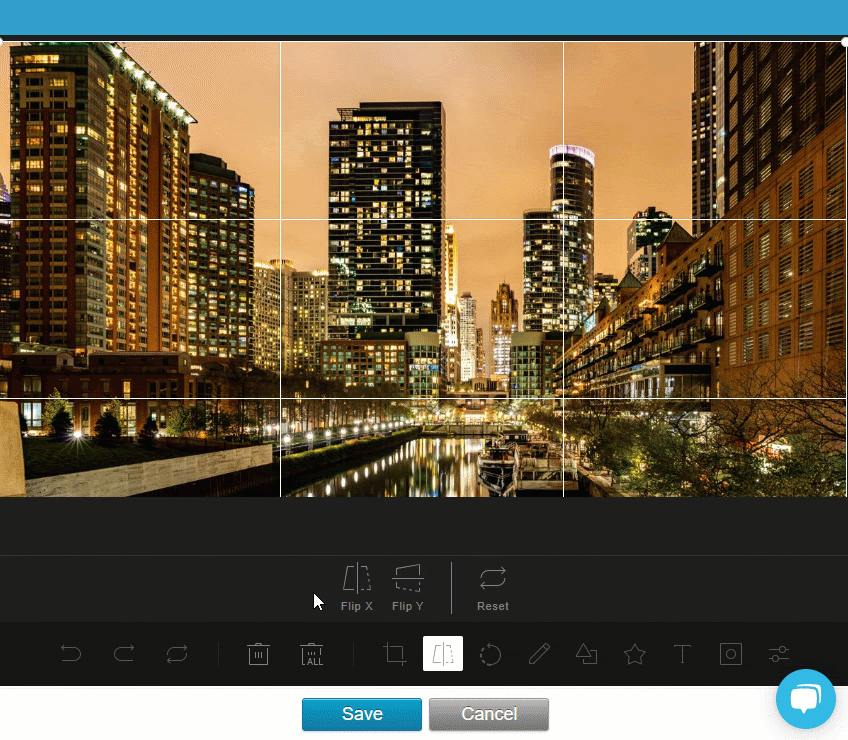
Flip
Flip your image on an X (vertical) or Y (horizontal) axis.
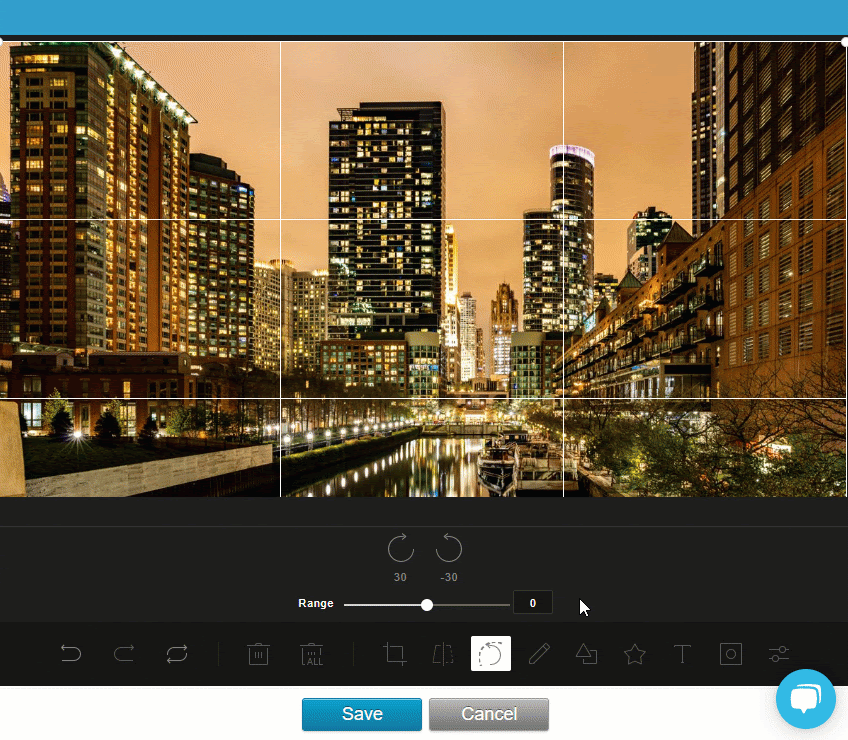
Rotation
Rotate your image by 30 degrees clockwise or counter clockwise, or use the ‘Range’ bar to choose a specific rotation degree.
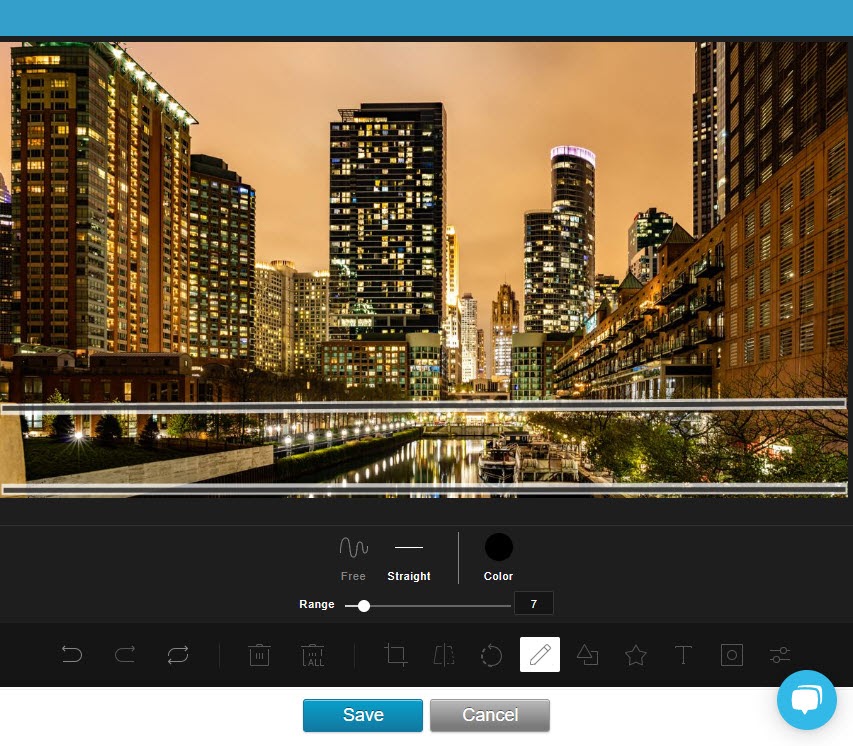
Draw
Add doodle or line overlays with a brush. Select the color or adjust the line width using the ‘Range’ bar.
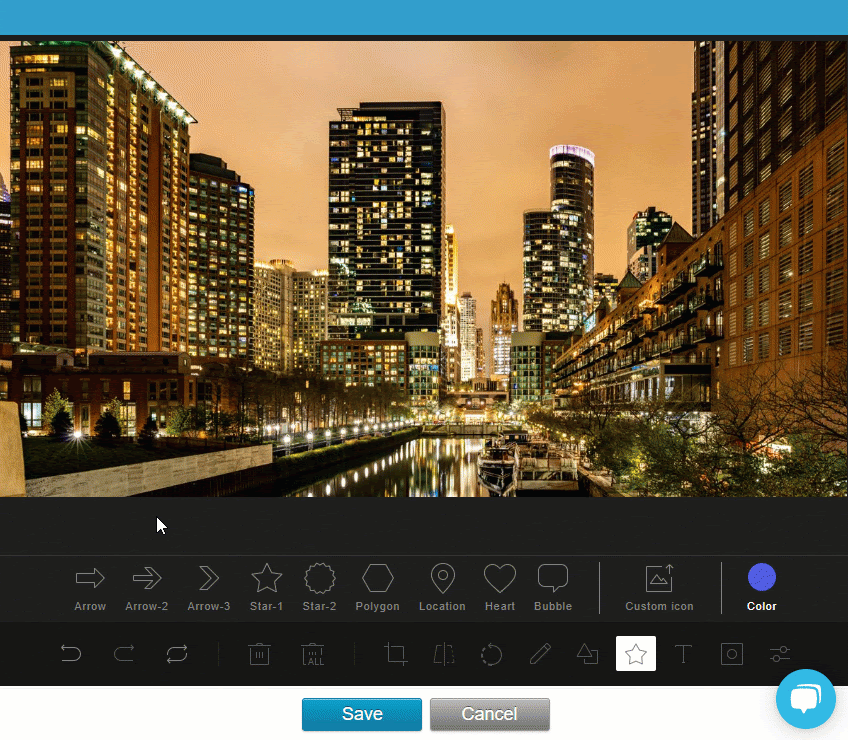
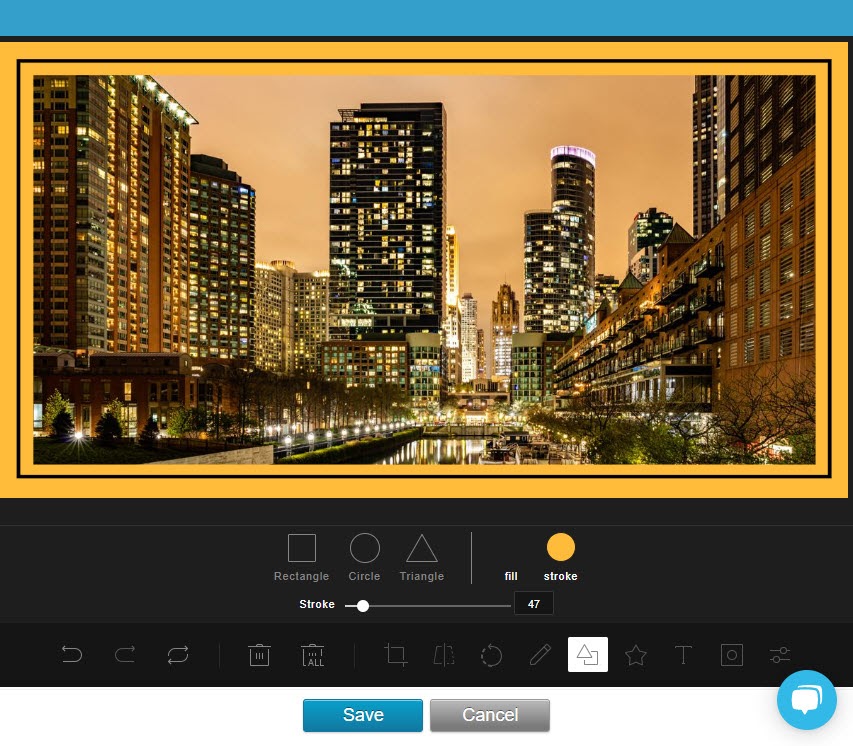
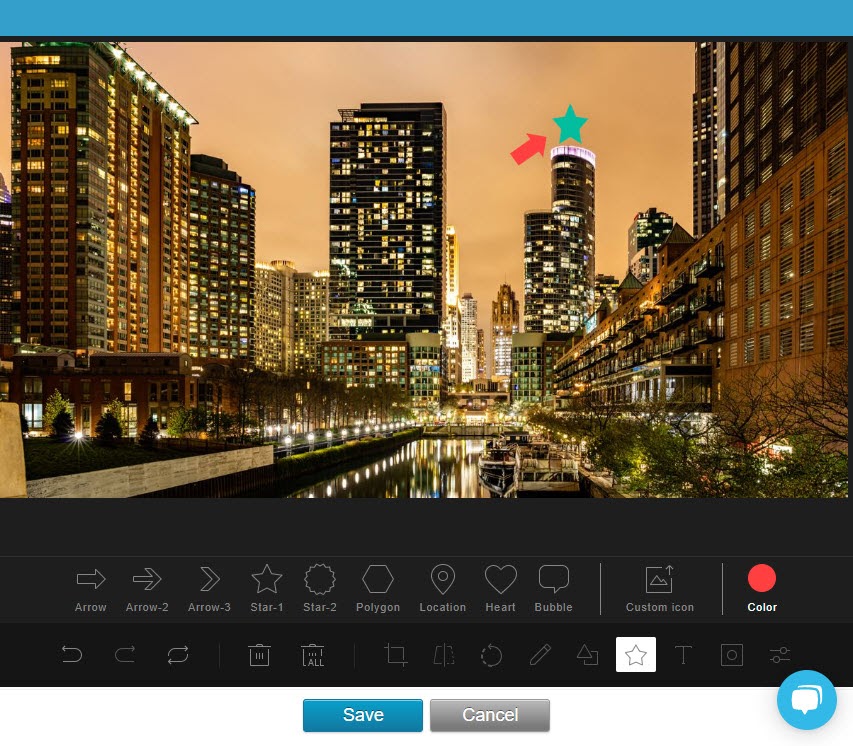
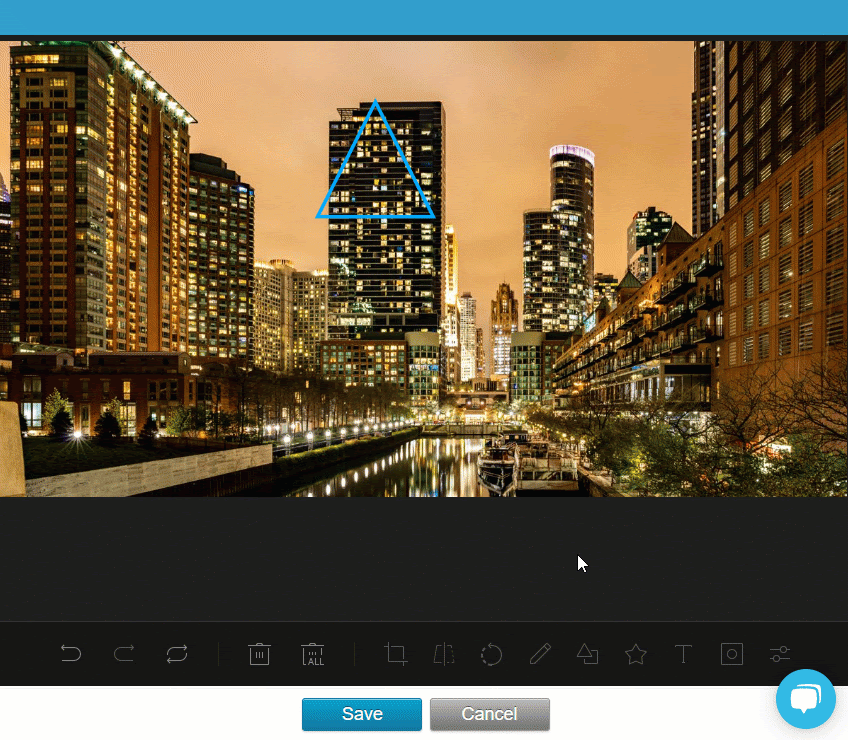
Shapes
Choose from commonly used shapes to display over your image. Select a fill or border colors or adjust the line width using the ‘stroke’ bar.
Icon
Add icons to display over your image. Select from the provided icons or upload icon frames from your computer. Sizes and colors can also be configured.
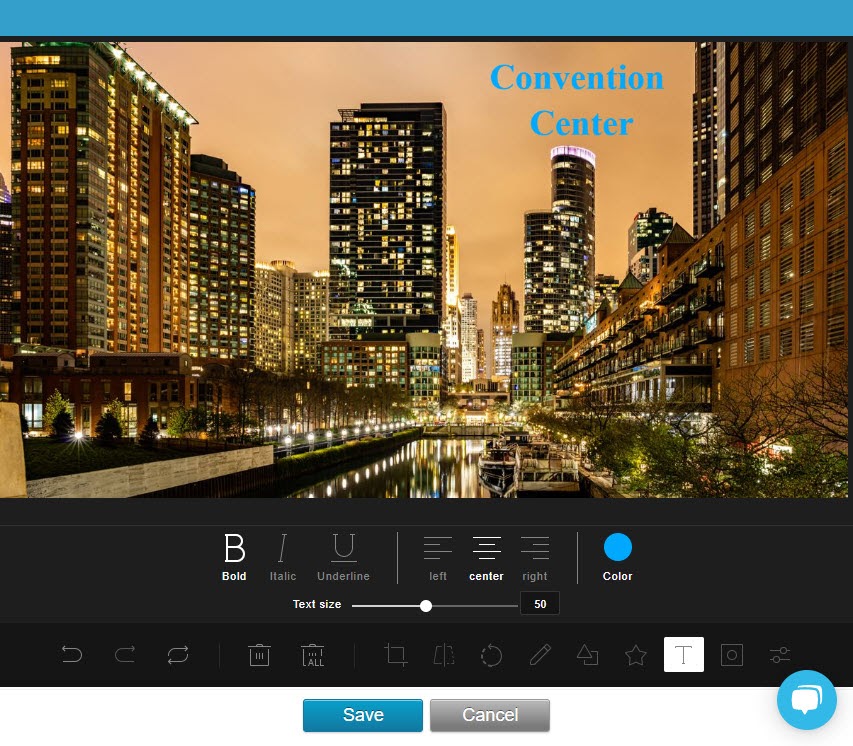
Text
Add custom and resizable text to display over the image. Basic formatting tools are provided along with color and text size adjustments.
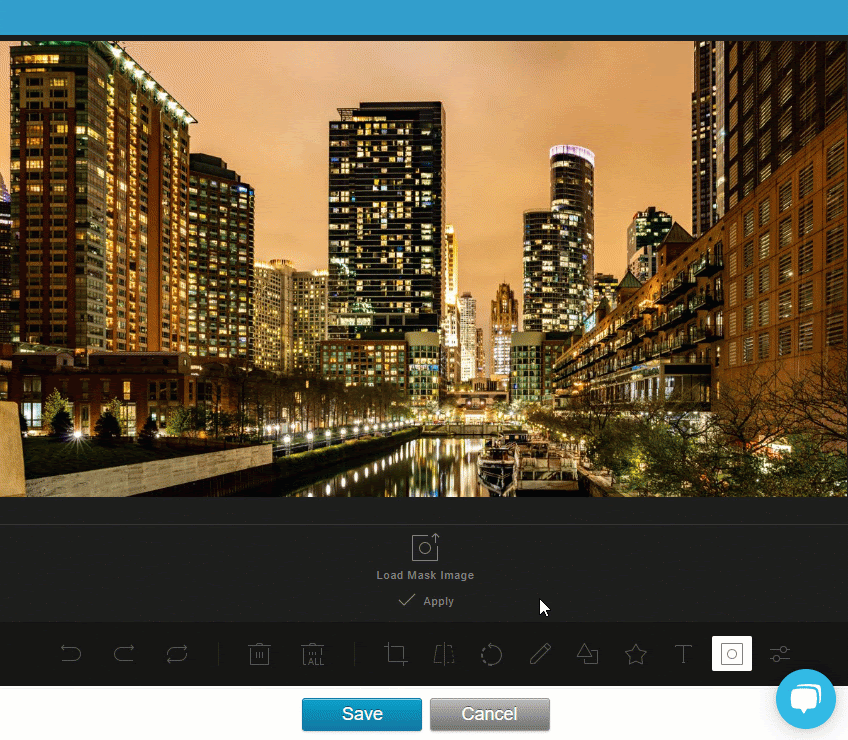
Mask
Add a mask image overlay or border to the image. Select a mask to upload from your computer and click ‘Apply’. This will replace the white space on the mask with your image.
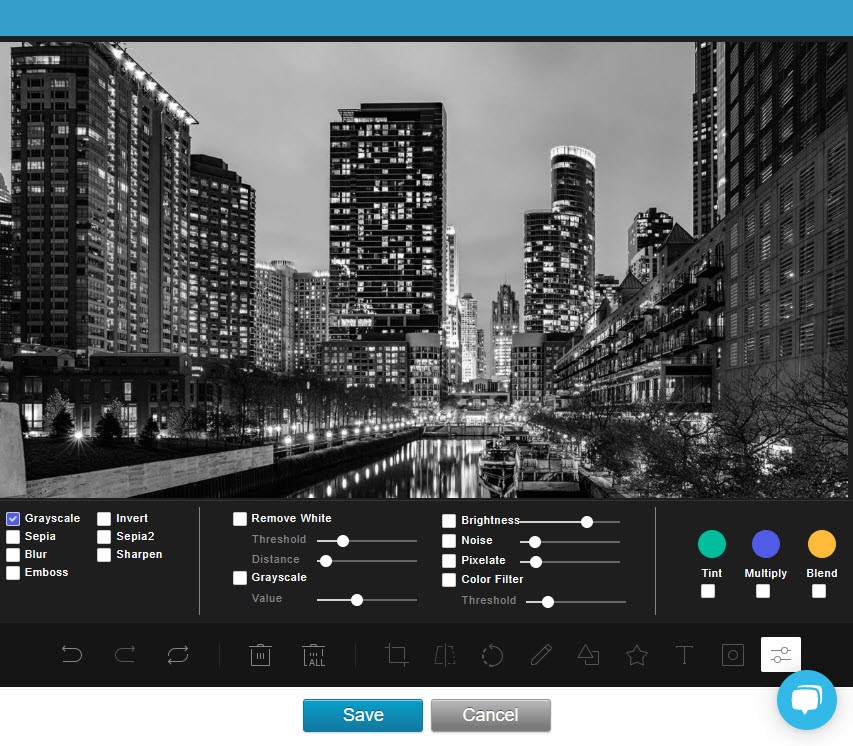
Filter
Adjust the overall image in one tool. Select from the available filters.
Grayscale
Removes the color from the image.
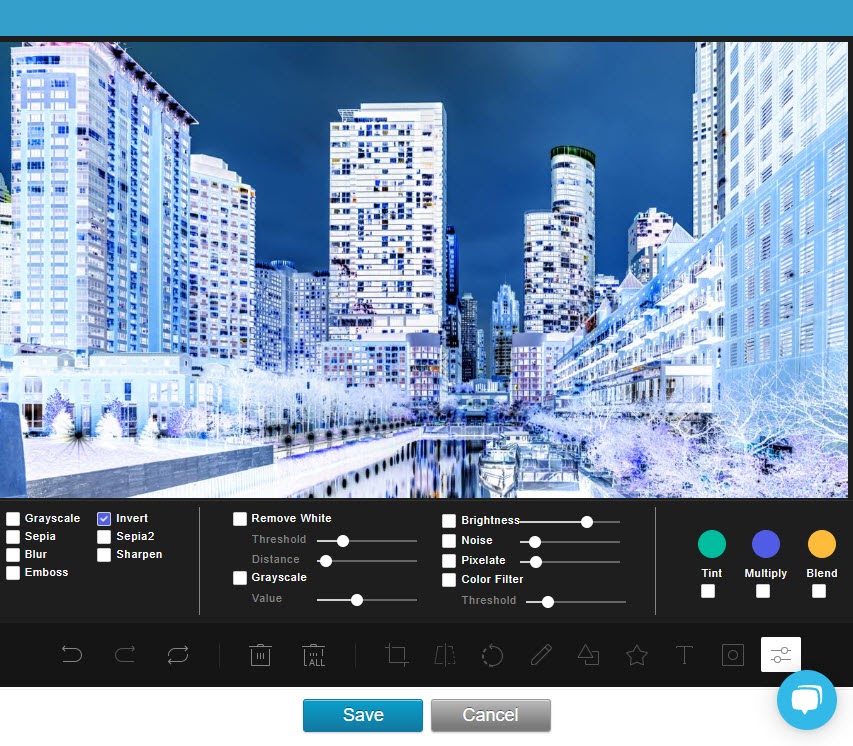
Invert
Adjust the image to the photo negative. Light areas appear dark and vice versa.
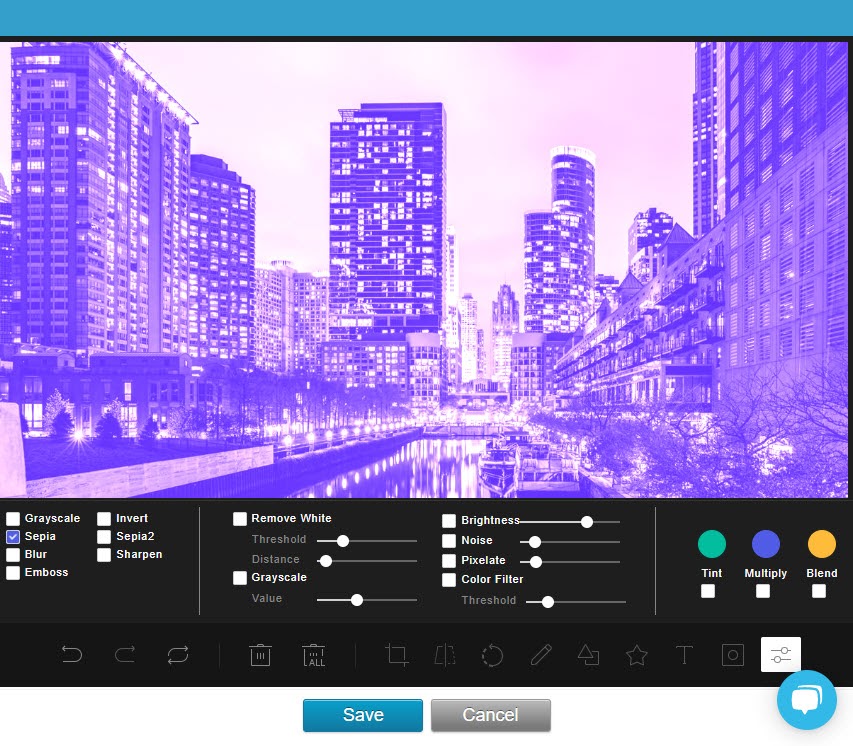
Sepia
Add a color filter over the image.
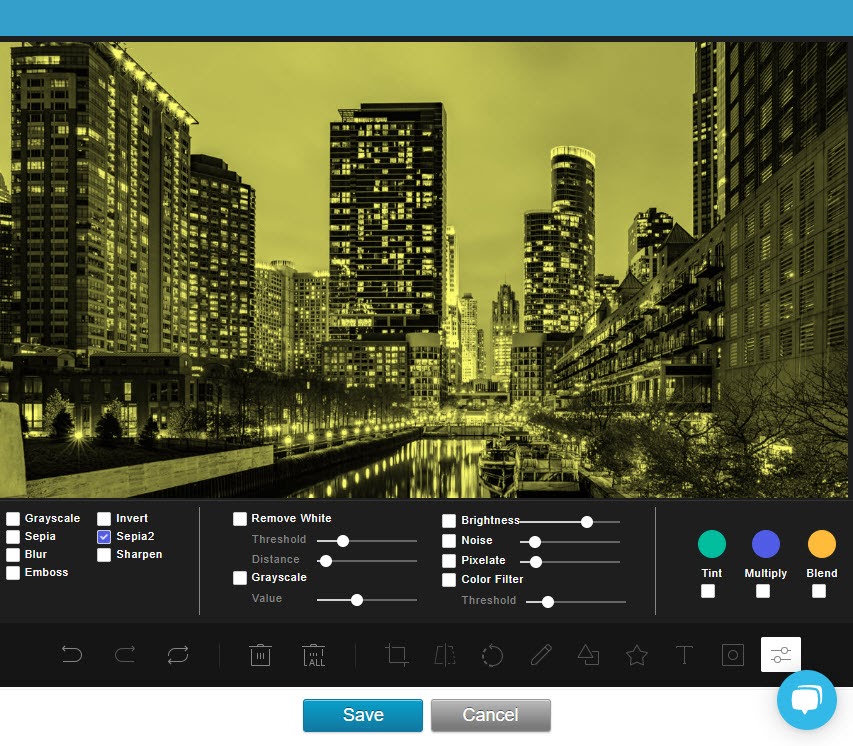
Sepia 2
Add a lighter color filter over the image.
Blur
Adds the blur effect to the image - affects the sharper points.

Sharpen
Enhances the definition of the image.

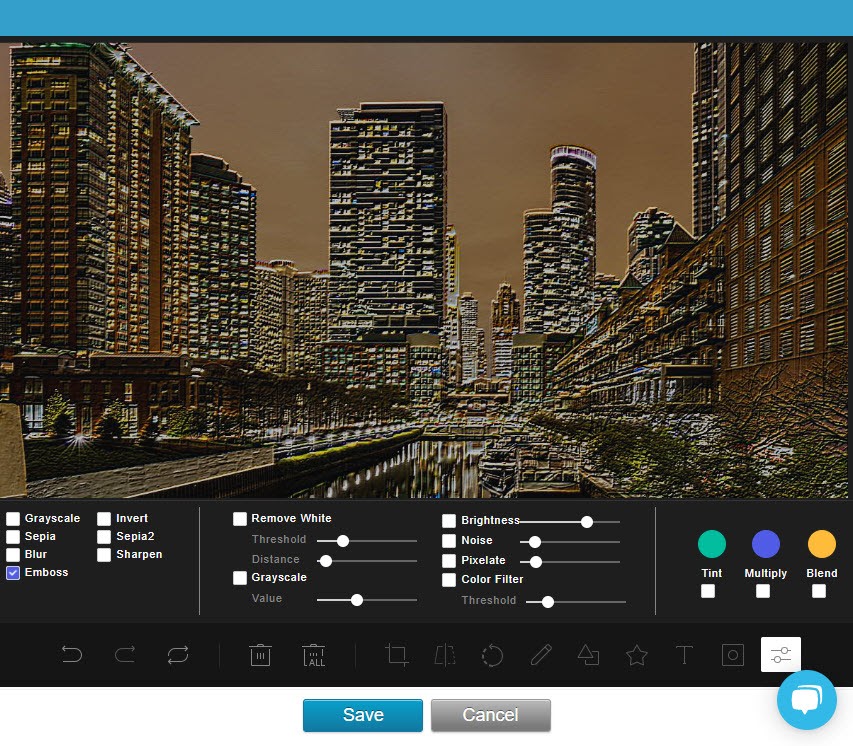
Emboss
This adds highlights and/or shadows to the pixels of the image.
Remove White
Helps remove the background white space of your image. The threshold and distance of the space identified can be adjusted.

Grayscale (adjustable)
Adds in a dark transition effect from the bottom of the image. Distance can be determined using the “value” bar.
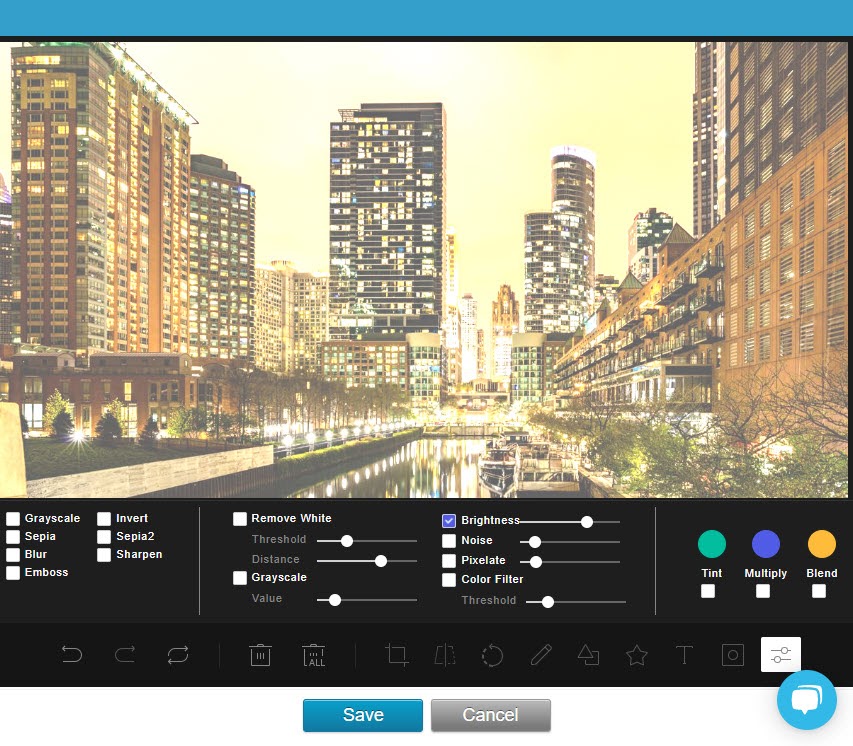
Brightness
Adjusts the light of the image. Use the bar to adjust to the desired effect.
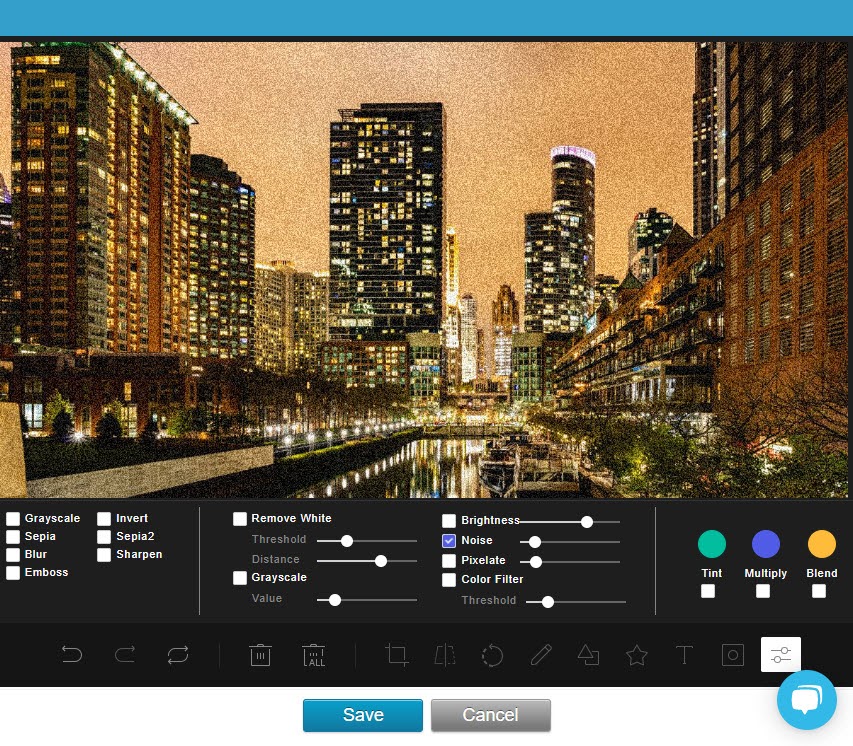
Noise
Adds in a random variation of brightness in the pixels of an image. Use the bar to adjust to the desired effect.
Pixelate
Enlarges the pixels of an image. Use the bar to adjust to the desired effect.

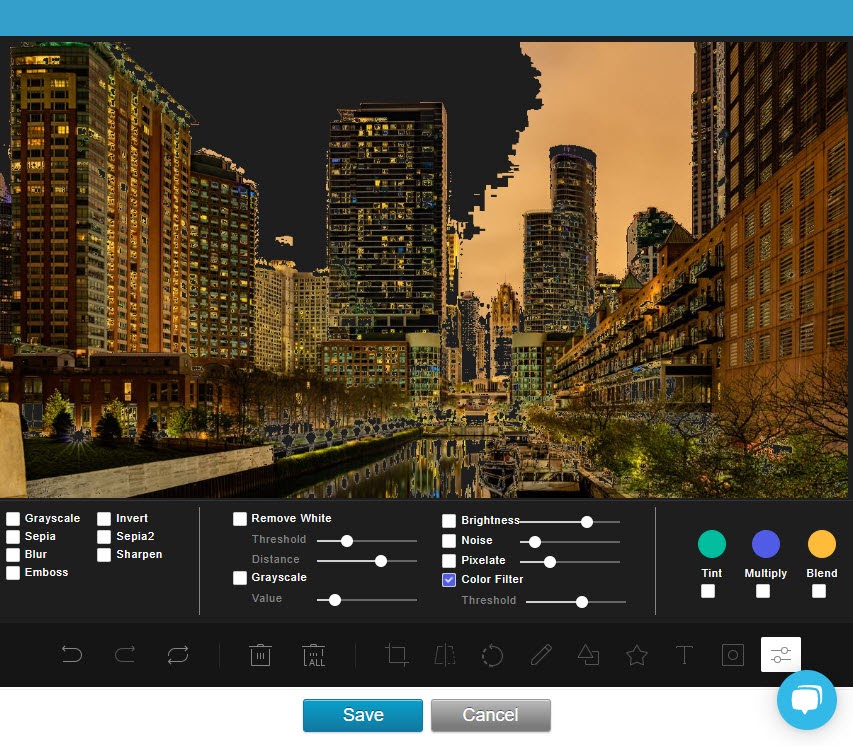
Color Filter
Similar to the ‘Remove White’ function, this identifies the white/light spaces of your image to remove. Use the bar to adjust to the desired effect.
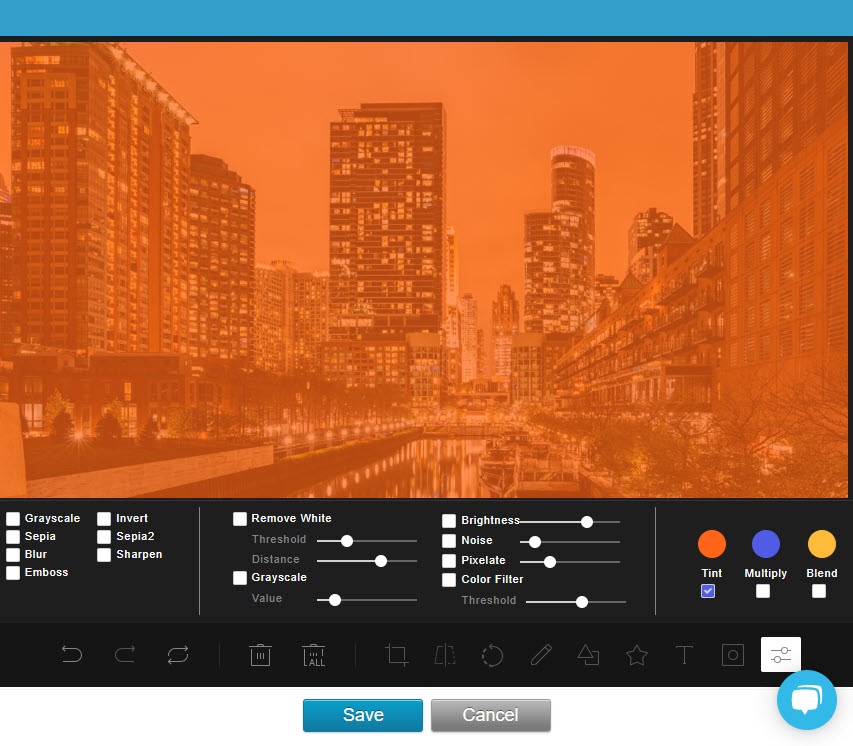
Tint
Creates an opaque overlay of a selected color onto the image.
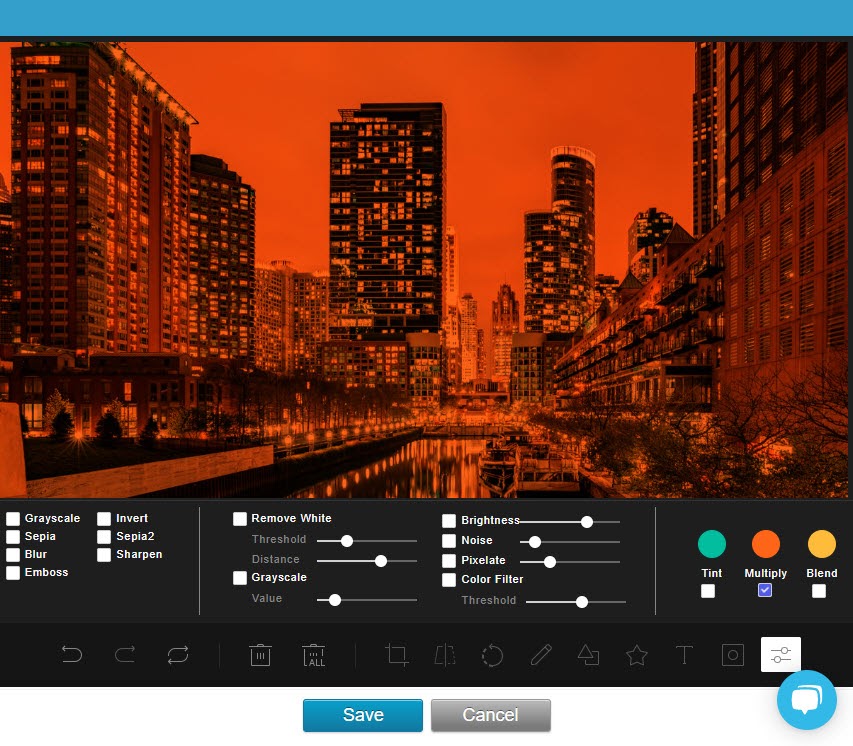
Multiply
Creates a transparent overlay of a selected color onto the image.
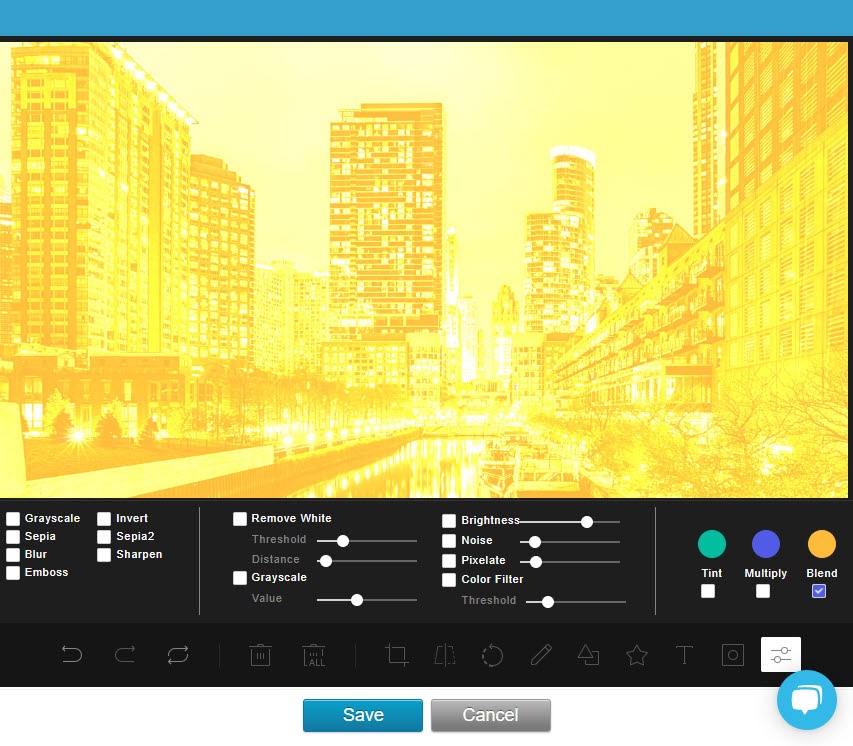
Blend
Mixes a selected color into the image.
Removing Edits from an Image
Any changes made with the Toast UI tool can be undone, while still in Edit mode.
Remove an added object by selecting it and hitting ‘delete’ on your keyboard.
The ‘Delete’ or the ‘Delete All’ buttons on the toolbar provide the same ability.
Use the ‘Undo’ button on the toolbar to remove applied filters and/or objects. Reinstate the edits by using the toolbar’s ‘Redo’ button. The ‘Reset’ button sets the image back to its original state, thus removing any and all changes.